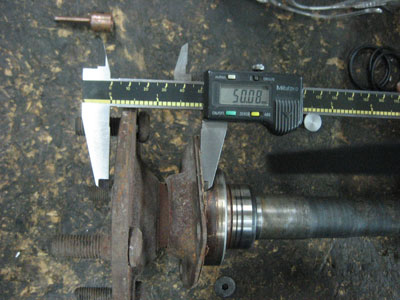
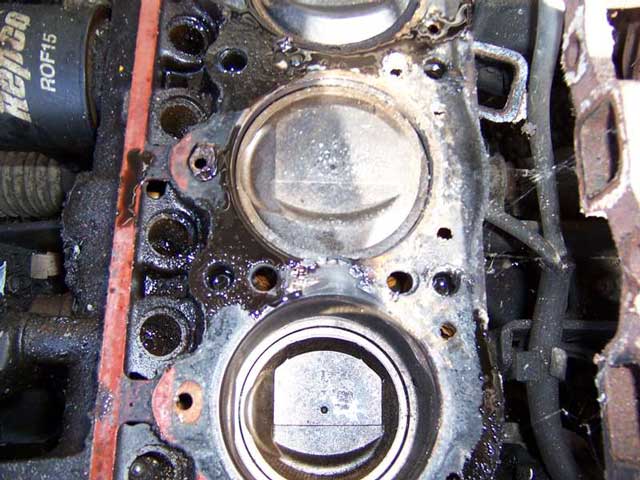
ke20/ke25/ke26 axle sits 50mm out from the diff housing (including the drum).
ke3 axles are around 60mm from the diff housing.
Stud Conversion in KE2 Corolla
In ke20, ke25 and ke26 Toyota Corolla with 4x110mm stud pattern, there is limited options when it comes to wheel selection. The answer is to convert the stud pattern to 4x114.3mm (4x4.5"). TE27 already come with this stud pattern.
For the front: a KP61 Starlet front hub will bolt on. You may need to swap the original ke2 disk to the kp61 hub, as the KP disk center has a slightly larger diameter which contacts the Corolla caliper.
For the rear- ke3 Corolla axles and drums can bolt into the ke2 diff housing if you shave 5mm off the end of the axle spline and also use the ke3 drum. This mod will add 20mm total to the rear track width. The backing plate and brake shoes stay unchanged.
|
ke20/ke25/ke26 axle sits 50mm out from the diff housing (including the drum). ke3 axles are around 60mm from the diff housing. |
To keep the original diff width.. redrilling of the new stud pattern into the original axles and drums is required.
Step 1 : Redrill the drum brakes.
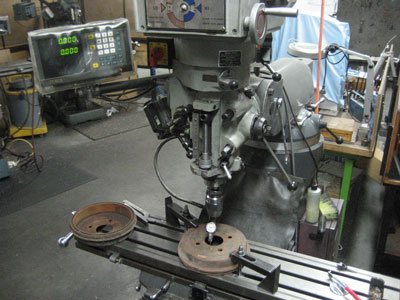 |
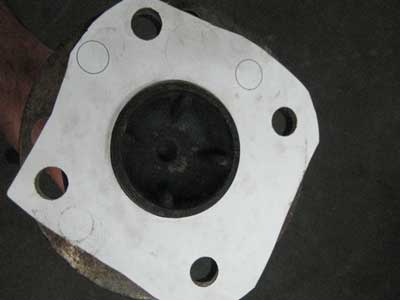
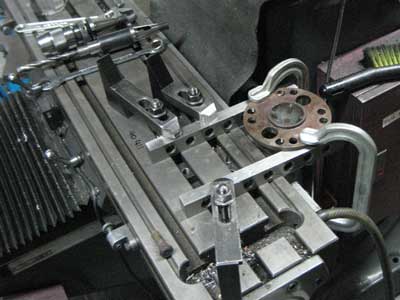
File off any rust around the center hole and also on the inner edge so it sits flat on the table. Rotate the drum so that the original stud holes are horizontal with each other (see pic). This does not have to be perfect. Clamp the drum down firmly on the mill table using finger clamps |
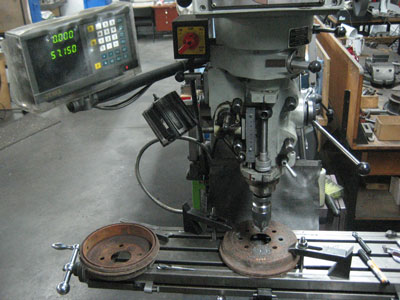 |
Now you have a center point. You can now pitch out the stud hole coordinates. Half of 114.3mm is 57.15mm. So wind table up, down, left and right to 57.15 and drill your hole at each position. |
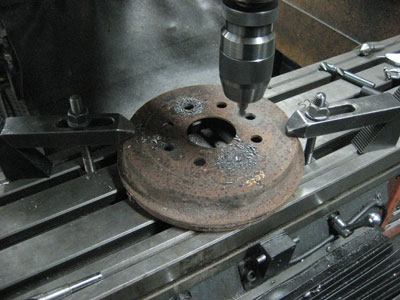 |
Center drill first, then a 14.5mm drill to finish. A pair of drums shouldn't take more than 1/2 hr from start to finish. |
 |
Use a file or deburring tool to chamfer the inside edge of the new holes. You now have multi-stud drums |
 |
Drum getting a skim on a lathe using an old axle between centers. |
Step 2 : redrill the axles.
 |
For safety reasons, it is best to have the original stud holes welded up and machined flat. If the car is to be certified, check with your certifier as to what is required before proceding. |
 |
|